10 Booster Seat Buying Tips for Global Buyers

A Booster Seat is more than a travel accessory. It helps position a vehicle’s seat belt across a growing child’s body, but the right choice depends on more than age or appearance. Dr. Benjamin Hoffman, a pediatrician and child passenger safety expert, has emphasized matching restraint choices to a child’s size and developmental needs. A practical paraphrase of that guidance is simple: choose for the child’s fit, not the package’s promise.

Fit comes first. This guide introduces ten buying considerations for global buyers, from child height and weight limits to belt-path design, side wings, and installation checks. It also examines materials, cleaning, portability, product documentation, and how a seat works with different vehicle interiors. Picture a crowded rear bench, a thick winter coat, or a seat that must move between cars. Small details matter. A feature that looks convenient online may feel awkward during a real school run.

Buying across markets adds another layer. Product labels, testing standards, and available models can differ, so buyers should verify current local requirements and manufacturer instructions before purchasing. No single checklist can cover every vehicle or family. And, honestly, comparing specifications can still feel confusing. The aim here is not to declare one Booster Seat universally best, but to help buyers ask sharper questions, compare products carefully, and make a choice they can use consistently.
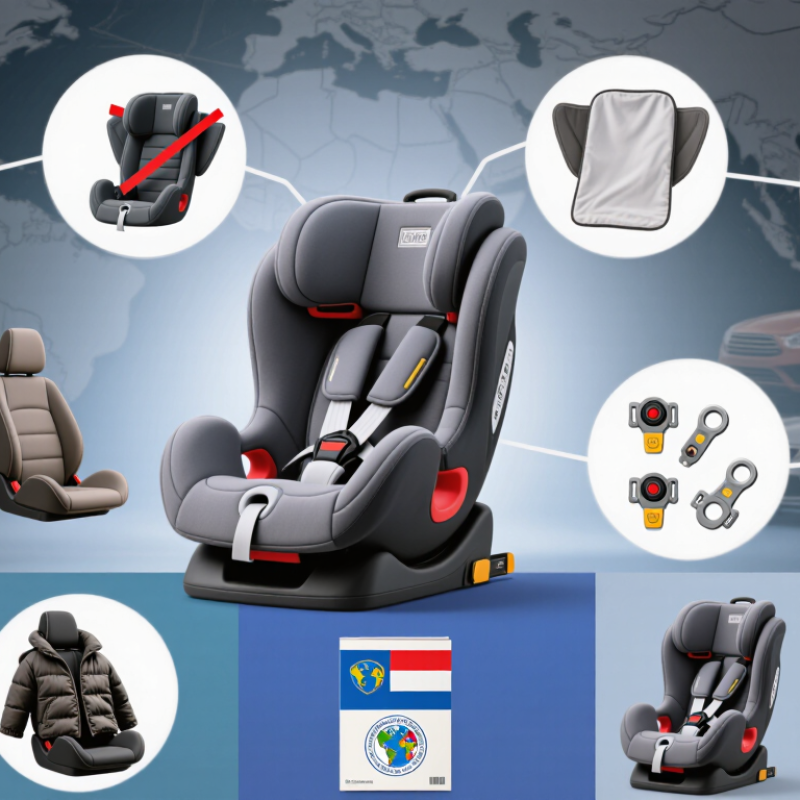
10 Booster Seat Buying Tips for Global Buyers

Understanding Booster Seat Types and Child Readiness

Booster seats are not simply “small car seats”; they position an adult seat belt across a child’s stronger body areas. High-back models provide head and side support, useful in vehicles with low seat backs or no head restraints. Backless models are lighter and easier to move, but rely on the vehicle seat for head support. Both types guide the lap belt low across the hips and the shoulder belt across the chest. Belt fit matters more than a child’s age alone.

Readiness depends on size, posture, and the car’s belt geometry. The U.S. National Highway Traffic Safety Administration reports that booster seats reduce the risk of serious injury by 45% for children aged four to eight, compared with seat belts alone. A child may still need a booster after turning eight. Check whether knees bend naturally at the seat edge, the lap belt rests on the upper thighs, and the shoulder belt crosses the chest—not the neck. Feet dangling forward? The belt may ride up. That detail is easy to miss. Some buying guides lean too heavily on age ranges; real vehicle seats and children do not fit a neat chart. Recheck belt fit as a child grows, and follow the booster and vehicle manuals for installation and use.

10 Booster Seat Buying Tips for Global Buyers – Understanding Booster Seat Types and Child Readiness

Tip What to Understand What Buyers Should Check
01 Check local approval requirements. Child-seat regulations and accepted certification labels vary by country and market. Confirm that the seat is approved for use where it will be sold and used. Depending on the market, relevant requirements may include UN Regulation No. 129 or applicable national rules such as the U.S. FMVSS 213. Verify current local requirements before importing or purchasing.
02 Choose the right booster type. High-back boosters provide a backrest and belt-positioning guides; backless boosters raise the child and guide the vehicle belt. Compare the child’s size, the vehicle’s head-restraint and seatback support, and the booster’s instructions. Use a backless model only when the vehicle provides the head and upper-body support required by that model’s manual.
03 Assess readiness by fit and behaviour—not age alone. Legal minimum ages and size rules differ, and children develop at different rates. Check local law and the child-seat manufacturer’s minimum and maximum limits. A child should be able to sit upright with the belt correctly positioned and remain in that position for the whole journey.
04 Do not rush the move from a harness. A forward-facing harnessed seat may remain appropriate while the child is within its permitted limits. Compare the child’s height and weight with the harnessed seat’s limits and follow its manual and local law. Move to a booster when the harnessed seat has been outgrown according to its instructions and the child meets the booster’s requirements.
05 Test the belt fit in the actual vehicle. A booster positions the vehicle’s lap-and-shoulder belt; it does not replace the belt. With the child seated, check that the lap belt lies low across the upper thighs and the shoulder belt crosses the chest and shoulder. The belt should lie flat, not twisted, and should retract freely.
06 Confirm a shoulder belt is available. Booster seats are designed to be used with a compatible vehicle belt system. Do not use a booster with a lap-only belt unless the booster’s instructions and applicable law explicitly permit that configuration. Check every seating position where the seat may be installed.
07 Check vehicle compatibility. Seat contours, belt-anchor locations, head restraints, and available space can affect fit. Try the booster in the intended vehicle and seating position. Confirm that it sits stably as instructed, the belt routes correctly, and the child can maintain the recommended posture.
08 Understand lower-anchor connectors. Some boosters have connectors that attach to a vehicle’s lower anchors, while the child is still restrained by the vehicle belt. Use connectors only as directed in the booster manual. They do not replace the lap-and-shoulder belt for the child, and the booster must be secured as instructed when unoccupied.
09 Compare limits and useful fit features. Approved height and weight ranges, belt guides, recline options, and adjustment methods vary by model. Read the product label and manual for the exact limits and permitted configurations. Look for adjustments that help the belt sit correctly without obstructing its movement or changing the approved installation.
10 Plan for travel, care, and product history. A seat that is difficult to install or maintain correctly may be harder to use consistently. Check the seat’s instructions for cleaning, expiration or service-life guidance, and crash-replacement rules. For a used seat, confirm its full history, labels, parts, and manual are available and that it has not been recalled or damaged.

Checking Safety Standards and Certifications in Target Markets

Before placing a booster seat order, check which safety standard applies in each target market. Requirements can differ, and a certificate for one country may not satisfy another market’s rules. Ask the supplier for current test reports and certificates covering the exact model, including its version and intended age or size range. Match the product label to the paperwork. Small details matter.

Tips: Verify documents with the issuing body or testing laboratory. Check report dates, model numbers, warning labels, and installation instructions. Confirm that the product’s stated approval covers the configuration you plan to import. Keep copies with purchase and inspection records. A certificate is not a substitute for checking the seat itself.

A common review trap is treating a familiar logo or a polished document as proof of full compliance. Read the scope and exclusions, and ask a qualified local compliance professional when wording is unclear. Requirements may change, so confirm them before shipment, not only during supplier selection. Even a careful spreadsheet can miss a label difference or a revised rule. That is worth admitting. Clear documentation helps buyers compare products, but careful checks at receiving remain important.

10 Booster Seat Buying Tips for Global Buyers — Checking Safety Standards and Certifications in Target Markets

Selected frontal-impact test reference speeds in two major regulatory frameworks

UN R129 specifies a 50 km/h frontal-impact test speed. The US FMVSS No. 213 frontal sled test uses 30 mph (about 48.3 km/h). These are protocol references—not a safety ranking—and the test procedures are not directly interchangeable. Always confirm the current requirements for the destination market.

10 buying checks

  1. Identify the safety standard required in the destination market.
  2. Check the seat’s approval label and required certification markings.
  3. Confirm the model is approved for sale and use in that market.
  4. Match the seat to the child’s height, weight, and age limits in its manual.
  5. Check that the vehicle’s seat belt fits the child correctly with the booster.
  6. Verify the vehicle has a suitable seating position and compatible belt system.
  7. Read the installation and belt-routing instructions before purchase.
  8. Check the manufacture date, service life, and any recall information.
  9. Confirm local rules for booster use, including age or size requirements.
  10. Keep the product label and manual available for the buyer and end user.

Matching Seat Size, Fit, and Installation to the Vehicle

A booster seat must fit both the child and the vehicle. Check the seat’s stated height and weight range, then compare it with the child’s current measurements. Age alone is a rough guide. A child who has outgrown a seat’s limits needs another suitable option, not a tighter belt. Try the booster in the actual vehicle when possible. Check that it sits flat on the cushion and does not tip near the door or buckle. Small differences in seat shape matter.

The vehicle’s lap-and-shoulder belt should move freely through the booster’s guides. The lap portion should rest low across the upper thighs, while the shoulder portion crosses the chest without touching the neck. Buckle up. Then check that the belt retracts and stays snug as the child leans forward and sits back. Review both the booster instructions and the vehicle manual; they may describe belt guides or head-restraint adjustments differently. If the buckle stalk is long, the buckle can sit awkwardly against the booster. That can be easy to miss in a quick shop-floor check. For buyers comparing vehicles across countries, local requirements and seat designs can vary. Confirm the rules where the seat will be used, and verify fit in each vehicle. A seat that works well in one car may not fit a narrower back seat.

Evaluating Comfort, Materials, and Everyday Usability

Comfort is more than soft padding. A child may sit in a booster seat for school runs, traffic delays, and longer trips. Check the seat’s width, side shape, and leg support against the vehicle’s back seat. A bulky shell can crowd another passenger. Sit the child in it, if possible, and check that the vehicle belt lies low across the hips and across the chest, not the neck. Follow both manuals for fit and belt positioning. Small details matter. Rough seams or a stiff edge can become irritating after an hour.

Materials affect comfort and upkeep. Breathable fabric may feel better in warm weather, while a wipe-clean surface can help after snack spills. Check whether the cover comes off easily and whether its care instructions suit your routine. Pull gently at seams and inspect buckles, stitching, and the seat’s underside. A washable cover sounds useful, but frequent removal can be fiddly. I would not choose by fabric alone; fit and correct belt routing matter more. Buyers in different markets should also verify the safety approval requirements where the seat will be used. Before purchase, check compatibility with the vehicle and the child’s size, then test everyday tasks such as buckling and carrying the seat.

Comparing Price, Warranty, and Supplier Support Across Regions

A low quotation can look attractive until freight, duties, inspection, and packaging are added. Compare the delivered cost per booster seat, not just the factory price. Ask suppliers to separate tooling, sample, and shipping charges. Small fees add up. Currency changes can also shift a quote between order and payment, so confirm how long pricing remains valid.

Warranty terms deserve the same scrutiny. Check what counts as a defect, how claims are documented, and who pays return freight. Ask whether coverage includes buckles, adjustment parts, and fabric, or only the seat shell. A generous warranty is less useful if replacement parts take months to arrive. Put the response time and remedy in writing. I have seen buyers focus on the warranty length and miss the exclusions; that is an easy mistake.

Supplier support varies across regions and time zones. Before placing a large order, send a detailed question about installation guidance or a sample inspection. Note how quickly the reply comes, and whether it answers the actual question. Request clear product specifications, care instructions, and consistent shipment records. A helpful contact can prevent costly confusion, but one friendly email is not proof of reliable service. Test the process with a small order, then review delays, packaging condition, and how problems were handled.