
How to Choose EVA Boat Deck Flooring for Your Boat?

Choosing Eva Boat Deck Flooring is more than picking a color that matches your boat. The right foam can make a wet deck feel more comfortable underfoot and provide useful grip during everyday use. Yet no material suits every boat. A small fishing boat, a family runabout, and a frequently exposed sailboat face different demands.

A dark sample may look sharp in a showroom, then feel hot under strong sun. Small details matter. Consider how much UV exposure, spray, and foot traffic your deck receives. Check the foam’s thickness, surface texture, and resistance to water and sunlight. Ask about the adhesive and the recommended surface preparation, too. Installation quality affects how well the flooring stays in place. Fit is not everything. Curved corners, hatches, and hardware can make a clean-looking layout harder to achieve. That can be annoying.

Before ordering, measure the deck carefully and request a sample if one is available. Place it in the sun, walk on it with wet footwear, and inspect how its color looks beside your boat’s trim. Leave room in your budget for careful cutting and preparation. A modest mistake in measurement can waste material. No brochure can predict every condition on your boat, so compare product details with your actual use. These checks will help you choose with clearer expectations, rather than relying on appearance alone.
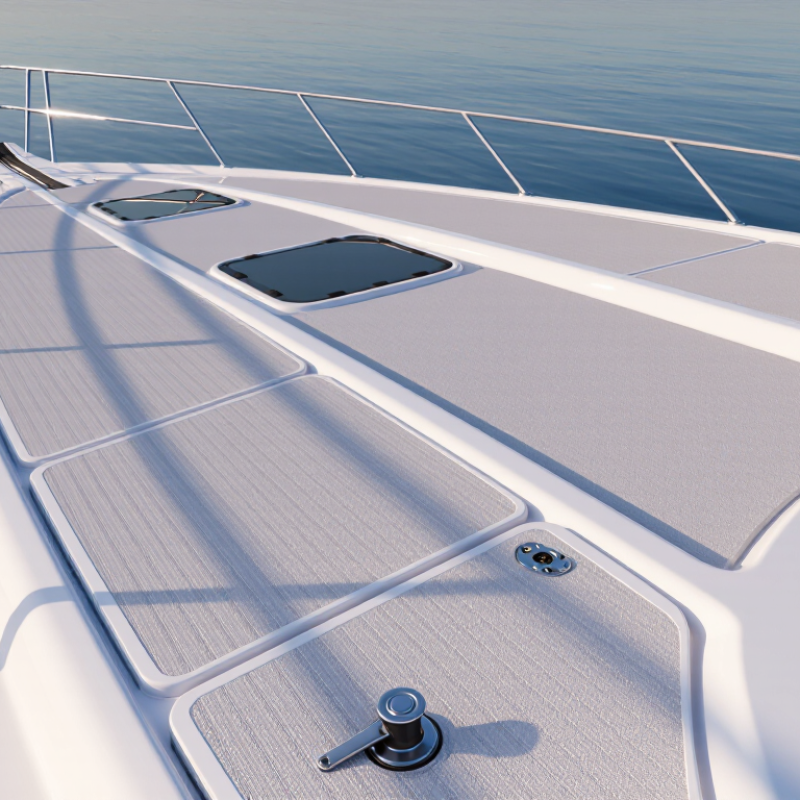
How to Choose EVA Boat Deck Flooring for Your Boat?

Measure Deck Area and Check Clearance for 5–6 mm EVA Sheets

Before ordering EVA boat deck flooring, measure the deck in manageable sections. A boat’s bow may taper, while seats and lockers create awkward edges. Record each section’s length and width, then sketch its outline on paper. Include hatch openings, pedestal bases, and fixed hardware. For curved areas, use cardboard or paper to make a simple template. Measure twice; my first estimate would not always catch a narrow recess.

Tips: Check clearance with the hatch, locker lid, and door fully open. A 5–6 mm sheet can rub against a low edge or stop a lid from closing. Test a small offcut where possible, especially around hinges and latches.

Compare the finished flooring thickness with existing fittings, drainage channels, and removable panels. Leave access to drains and inspection points, and avoid covering fasteners that need regular service. Mark cutouts on the template rather than guessing on the deck. Keep a note of each measurement and its location. It may feel fussy, but boat layouts are rarely as square as they look. If a panel fits tightly before installation, recheck the clearance; adhesive and uneven surfaces can make a close fit troublesome.


Compare Foam Specs: Thickness, Density (kg/m³), and Shore C Hardness

When comparing EVA boat deck flooring, start with thickness. A 5 mm sheet can keep hatch lids and trim flush, while a thicker pad may feel kinder underfoot during a long day standing. Check drain openings, hatch edges, and door clearances before choosing. Small details matter. Thickness alone does not tell you how much cushioning the foam will provide; compression and the deck beneath it also affect the feel.

Read density in kg/m³ alongside thickness. Higher density often means firmer support and better resistance to crushing, but it does not automatically mean better wet grip or longer service life. Formulation matters. Shore C hardness gives another clue: a higher reading generally feels firmer, while a lower one may feel softer under bare feet. Compare readings taken with the same test method, since figures from different suppliers may not be directly comparable. I would not select a floor from a spec sheet alone. Ask for a sample, press it with your thumb, then stand on it with wet feet. Numbers help, but they can still leave room for a poor choice.

Review Wet-Traction Results and ASTM E303 Pendulum Test Data

When comparing EVA boat deck flooring, wet-traction data is more useful than a dry showroom feel. Ask for ASTM E303 pendulum results taken on wet samples, not just a claim that the surface is “non-slip.” The test reports a British Pendulum Number (BPN), which helps compare friction under stated test conditions. Higher readings can suggest better resistance to slipping, but they are not a guarantee of safety aboard every boat.

Check the details behind each result. Was the sample tested in more than one direction? What slider and conditioning procedure were used? Was the flooring tested as installed, or as a loose sheet? These details affect comparisons. Numbers need context. A thin water film is not the same as sunscreen, fish residue, or a worn surface. I would not treat one reading as the whole story; test reports can leave important questions unanswered.

Look for repeat readings and clear documentation, including the sample’s age and surface condition. If possible, compare wet results with a physical sample under controlled conditions, using clean water and cautious footing. Feel the grooves with a damp hand, but do not substitute that impression for measured data. A useful supplier should explain the test setup and limits plainly, rather than presenting a single BPN as a universal pass mark.

Check UV-Aging Reports, Including ASTM G154 Exposure Hours

When comparing EVA boat deck flooring, ask for the complete UV-aging report, not just “UV tested.” ASTM G154 describes fluorescent-UV exposure cycles. One commonly used cycle runs eight hours of UV at 60°C, followed by four hours of condensation at 50°C. That equals 12 exposure hours per cycle. A 1,000-hour test represents about 83 cycles under that schedule, not a guaranteed number of years outdoors.

Check the lamp type, cycle, irradiance, temperature, and total exposure hours. These details matter. “Tested for 1,000 hours” means little without them. Ask for before-and-after measurements, too. ASTM D2244 provides a method for calculating color differences, so a reported ΔE value can help show fading. Look for changes in hardness, cracking, surface chalking, and adhesive bond strength. A report should identify the actual EVA sample and testing conditions.

Compare products tested under the same cycle. A pale sample may show less visible fading than a dark one, yet still lose surface grip. Inspect the report photos, but do not rely on photos alone. Lab aging is useful for comparison; it does not recreate salt spray, sunscreen, deck cleaning, or a hot season at the dock. I would treat a high hour count as evidence, not a promise. Sometimes the missing details matter most.

Confirm Marine Adhesive Compatibility, Surface Prep, and Saltwater Resistance

Choosing EVA boat deck flooring is not only about texture or color. Match the adhesive to EVA and your deck material, such as fiberglass, aluminum, or sealed wood. Check the adhesive label. Confirm that it is rated for marine use and can tolerate heat, moisture, and repeated saltwater exposure. A general-purpose glue may soften or release when a sun-warmed deck stays damp.

Preparation often decides whether a neat installation lasts.

Remove old adhesive, wax, oil, and loose coating, then clean with a product approved for your deck surface. Let it dry fully. Even a thin film of cleaner can interfere with bonding. Light abrasion may help on some surfaces, but aggressive sanding can damage gelcoat or protective finishes. Follow the flooring and adhesive instructions, and test a small hidden area first. This step feels slow. It can prevent an expensive redo.

Saltwater resistance depends on more than the foam itself. Press edges firmly, especially around hatches, seat bases, and corners where water can sit. Keep seams tight, but do not stretch the sheet to force a fit. Rinse salt and grit away with fresh water after use, then inspect for lifting or trapped debris. If an edge starts peeling, address it early with an approved repair method. Boat conditions vary, so allow the specified cure time before wetting or loading the deck. A rushed install can look fine until the first rough trip.