How to Choose the Right Engine Parts for Your Vehicle?

Choosing the right engine parts begins with one practical question: what does your vehicle actually require? A component that looks identical may differ in dimensions, materials, sensors, or calibration. A mismatch can cause poor performance, warning lights, leaks, or repeat repairs. Small differences matter.

Vehicle age makes informed replacement decisions increasingly relevant. S&P Global Mobility reported that the average age of light vehicles in the United States reached 12.6 years in 2024. That figure describes the fleet, not the condition of any individual car. Still, it highlights why owners and technicians need to evaluate repair options carefully. (S&P Global Mobility, “Average Age of Vehicles in the U.S. Rises to 12.6 Years,” 2024.)

This guide explains how to compare OEM and aftermarket components, verify fitment, and assess quality without relying on price alone. Check the VIN, engine code, production year, and original part number before ordering. Then review material specifications, warranty terms, supplier reputation, and installation requirements. A parts engine search can return broad results, but a vehicle-specific match is what matters. When details conflict, pause and confirm them with a qualified technician or the manufacturer’s catalog. It may take longer. That is usually cheaper than fitting the wrong part. No checklist replaces a proper diagnosis, and even reputable catalogs can contain errors. The sections ahead offer a clear way to narrow your choices and ask better questions before buying.
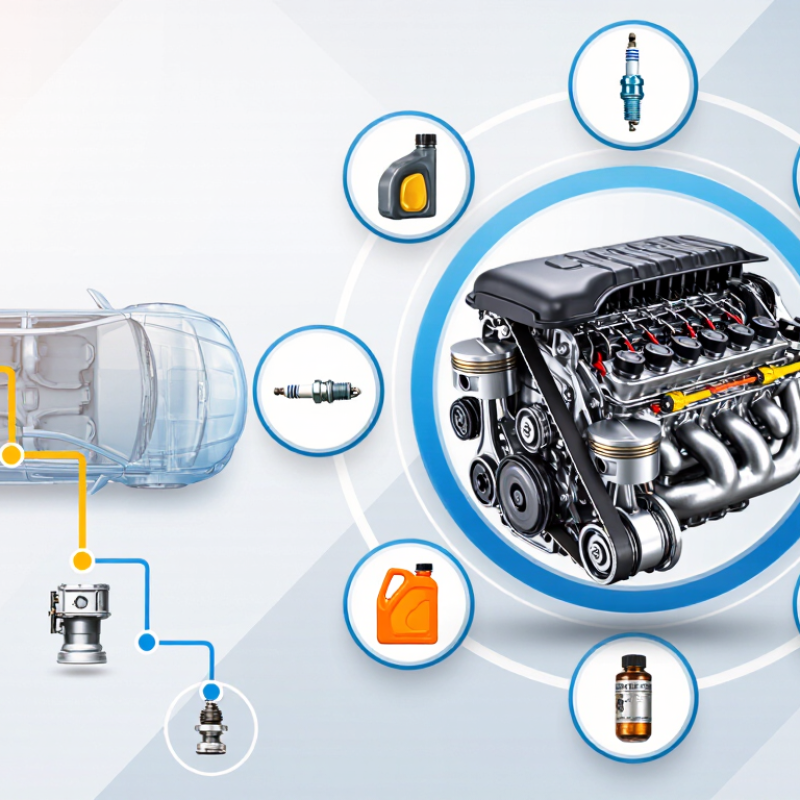
How to Choose the Right Engine Parts for Your Vehicle?

Identify Your Vehicle’s Engine Specifications and Part Requirements

A correct engine part starts with exact vehicle identification, not a visual guess. For 1981-and-newer vehicles, use the 17-character VIN with NHTSA’s vPIC decoder to confirm basic vehicle details. Then check the owner’s manual, under-hood emissions label, and service records for engine code, displacement, fuel type, and production date. Small differences matter. A sensor connector or cylinder-head revision can change within one model year.

Match the part to the engine, not merely the vehicle name. Record the original part number, then verify any replacement number against a reliable parts catalog. For internal components, confirm measurements such as bore diameter, valve dimensions, and bearing size. For electronic parts, compare connector shape and calibration requirements. A phone photo of the label can help, but it cannot replace a fitment check. It is tempting to rush this step; that is where avoidable returns begin.

Older vehicles make careful identification especially important. S&P Global Mobility reported that the average age of U.S. light vehicles reached 12.6 years in 2024. Many vehicles have received repairs or engine replacements during that time. Check whether the installed engine matches factory specifications before ordering. If records are missing, compare stamped engine codes and have a qualified technician verify uncertain measurements. A little doubt is useful. Better to pause than force a nearly compatible part into place.

Determine Which Engine Components Need Replacement

Before choosing replacement parts, identify what has actually failed. A rough idle, blue exhaust smoke, or falling oil level can point toward different problems, but none proves a specific component is worn. Check stored fault codes, inspect for leaks, and compare compression or leak-down readings across cylinders. Check the basics first. Low compression in one cylinder may suggest valve, piston-ring, or head-gasket trouble; further testing helps narrow the cause.

Tips: Record symptoms, warning lights, oil use, and when the problem occurs. Ask for measured test results, not just a parts list. Compare findings with the vehicle’s service specifications, and confirm the engine code before ordering. A small detail, like a connector shape, can matter.

Replace only what diagnosis supports, while checking related parts that may have caused or suffered from the failure. For example, a damaged timing component may require inspection of nearby tensioners and guides. It can be tempting to replace several parts “just in case,” but that adds cost without guaranteeing a fix. I would still pause before reusing an old gasket or fastener when the service procedure calls for replacement; that detail is easy to overlook. Choose components that meet the required fit and specification, then keep the removed part for comparison until installation is confirmed.

How to Choose the Right Engine Parts for Your Vehicle? — Determine Which Engine Components Need Replacement
Engine Component Possible Signs of Wear or Failure How to Confirm the Problem Replacement Guidance
Spark plugs Misfiring, rough idling, hard starting, or reduced fuel economy on spark-ignition engines. Inspect plug condition and gap; scan for misfire codes and check ignition components before replacing. Use the correct plug type and gap specified for the engine. Replace at the vehicle maker’s stated interval or when testing shows wear.
Ignition coils Intermittent misfires, engine stumbling, or a warning light, sometimes more noticeable under acceleration. Read diagnostic trouble codes and test the affected coil and its electrical connections. A misfire code alone does not prove the coil has failed. Match the coil to the engine configuration and electrical connector. Check plugs and wiring so the underlying cause is not overlooked.
Air filter Visible dirt or damage; in some conditions, restricted airflow may contribute to reduced performance. Remove and inspect the filter according to the service procedure. Check for gaps, poor seating, or debris in the air box. Choose the correct size and design for the intake housing. Follow the maintenance schedule, adjusting inspection frequency for dusty conditions.
Engine oil filter There is usually no reliable external symptom before a filter is due for service; an oil leak around the filter may indicate a sealing issue. Check the maintenance history and inspect the filter area for leaks, damage, or an incorrectly seated seal. Replace with the oil during the specified oil-service interval. Confirm the filter and seal fit the engine and follow the correct installation procedure.
Timing belt Wear may not produce a clear warning before failure. Some engines can sustain major internal damage if a belt breaks. Review service records and inspect according to the manufacturer’s procedure; some belt wear is not visible without removal. Replace at the specified time or mileage interval. If the service history is unknown, have the correct interval and replacement procedure confirmed for the engine.
Serpentine belt Cracks, fraying, missing ribs, belt squeal, or loss of operation of belt-driven accessories. Inspect the belt, tensioner, and pulleys with the engine off. Noise can also come from a pulley or accessory, not only the belt. Use the correct belt length and rib profile. Check the tensioner and pulleys before fitting a new belt.
Thermostat Engine temperature may stay below normal, rise excessively, or fluctuate; cabin heat may also be inconsistent. Check coolant level and temperature readings, and test the cooling system. Rule out sensor, radiator, and coolant-flow problems. Select a thermostat with the specified opening temperature and fitment. Replace coolant as required by the service procedure.
Water pump Coolant leakage, bearing noise, or engine overheating may occur, though symptoms can have other causes. Pressure-test the cooling system and inspect the pump, belt drive, and surrounding area for leaks or play. Confirm the pump matches the engine and installation type. Follow the specified procedure for coolant, sealing, and belt or timing components.
Fuel injector Rough running, misfires, difficult starting, or uneven engine performance may result from restricted or faulty injectors. Use diagnostic testing, fuel-pressure checks, and injector balance or flow tests as appropriate; inspect wiring and fuel quality. Replace only after testing identifies a fault. Match the injector’s flow specification and connector, and follow the required sealing procedure.
Head gasket Coolant loss, persistent overheating, white exhaust vapor after warm-up, or oil and coolant contamination can be warning signs. Confirm with cooling-system pressure, combustion-gas, compression, or leak-down testing. Any single symptom can have other causes. Because repair involves precise disassembly and measurement, confirm the diagnosis and follow the engine’s torque and surface-finish specifications.

Note: Symptoms can overlap, and a warning sign does not by itself confirm that a part needs replacement. Check the vehicle’s service information, engine specification, and diagnostic results before choosing a component. Use qualified assistance for repairs involving timing systems, internal engine parts, or high-pressure fuel systems.

Compare Part Types, Materials, and Compatibility

How to Choose the Right Engine Parts for Your Vehicle?

Compare Part Types, Materials, and Compatibility

Engine parts differ in origin, material, and intended fit. Original-equipment parts follow the vehicle maker’s specifications. Aftermarket parts vary by design and quality, while remanufactured components are rebuilt and tested. Compare warranties and inspection standards, not just prices. Aluminum parts are lighter; cast iron can offer durability, but the right choice depends on the engine’s design and operating conditions. Small details matter. A gasket with the wrong bore opening can disrupt sealing, even when its outer shape looks right.

Compatibility needs more than a model name. Check the VIN, engine code, production year, displacement, and any midyear changes. Then compare part numbers, dimensions, mounting points, and sensor connectors. The Auto Care Association’s 2024 Factbook describes a U.S. automotive aftermarket exceeding $500 billion, reflecting the breadth of available parts. That figure is market context, not proof that a part fits. Catalog descriptions can be imperfect, so confirm critical specifications against the vehicle’s service information.

Tips: Photograph the old part beside a ruler before ordering. Match connector shapes and bolt-hole spacing. Ask a qualified technician to verify uncertain fitment. A quick visual check helps, but it cannot replace specification checks.

Verify Quality Standards, Fitment, and Supplier Information

How to Choose the Right Engine Parts for Your Vehicle?

Verify Quality Standards, Fitment, and Supplier Information

A part that looks right may still have the wrong tolerances. Check for documented quality controls, such as an ISO 9001 quality management system or IATF 16949 certification for automotive suppliers. These certifications indicate formal processes, but they do not guarantee that every individual part is defect-free. Ask for inspection records, material specifications, and batch traceability. Small details matter.

Fitment should match the vehicle’s year, make, model, engine code, and, where available, VIN. Compare the part number and key dimensions with the original component; a few millimeters can affect sealing or alignment. The Auto Care Association’s 2024 Factbook estimated U.S. light-duty automotive aftermarket sales at $391 billion in 2023. In a market this broad, clear supplier records help buyers distinguish verified specifications from vague listings. Request written warranty terms and confirm who handles returns if the part does not fit.

Tips: Photograph the old part beside its label, then compare connector shapes, mounting holes, and measurements. Keep the invoice and packaging. A checklist can still miss a detail, so verify unusual engine variants with a qualified technician before ordering.

Plan Installation, Testing, and Ongoing Maintenance

How to Choose the Right Engine Parts for Your Vehicle?
Plan Installation, Testing, and Ongoing Maintenance

A suitable engine part must match the vehicle’s exact year, engine code, and original specifications. Before installation, compare dimensions, connector positions, and gasket shapes; even a small mismatch can cause leaks or poor fit. Keep the work area clean, photograph hose and wiring routes, and use the service manual’s torque values. A calibrated torque wrench matters. So does patience. Prime oil-dependent components as specified, replace required seals, and never reuse a fastener the manual identifies as single-use. A tidy installation can still hide a problem, so check your work rather than trusting appearances.

Test the engine in stages. Before starting, verify fluid levels and inspect connections; afterward, listen for unusual knocking, watch temperature and oil-pressure readings, and check carefully for leaks. Follow the manufacturer’s procedure before road testing. S&P Global Mobility reported that the average age of U.S. light vehicles reached 12.6 years in 2024, making consistent upkeep especially relevant for aging engines. AAA’s 2024 Your Driving Costs analysis allocated 10.13 cents per mile to maintenance, repairs, and tires in its modeled vehicle costs. Keep a dated log of parts, fluids, test results, and symptoms. Recheck fluid levels and fasteners only as the service instructions require. Small details matter. Even careful records cannot explain every new rattle, but they make the next diagnosis more grounded.

How to Choose the Right Engine Parts for Your Vehicle? — Plan Installation, Testing, and Ongoing Maintenance

Use these approximate service-planning ranges to help schedule inspections and replacement parts. Actual intervals vary by vehicle, engine, driving conditions, and part specifications, so check your owner’s manual before purchasing or installing parts. After installation, follow the vehicle maker’s testing and maintenance procedures.